Problem:
You want your generated document to contain a dashboard image.
Steps:
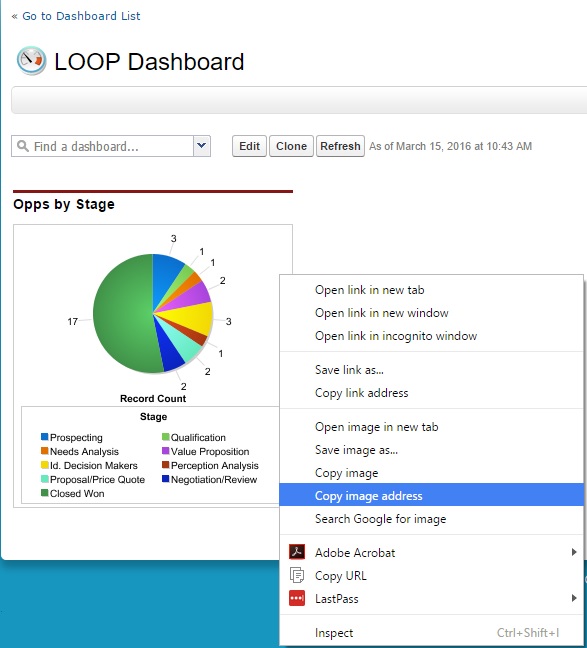
1. Navigate to the Salesforce Dashboard and right-click on the image. Select ‘Copy image address’.
2. Navigate to the record you are running from and paste the URL into a text field. For our example, we are using the Description field on the Lead object.

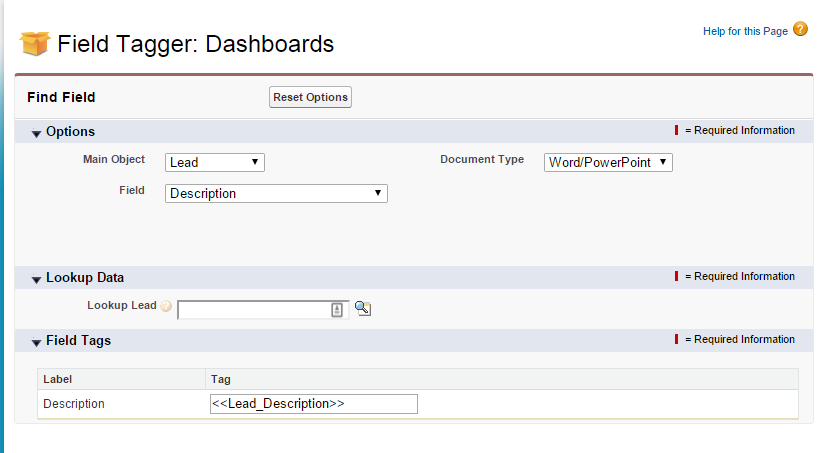
3. Next, navigate to the DDP and click the Field Tagger button. Once the Field Tagger window has opened, select your Main Object and the Field containing the dashboard image URL.
For this example, I am running from a Lead record and have my dashboard image URL in the Description field. The tag given to us in the Field Tagger is <<Lead_Description>>.
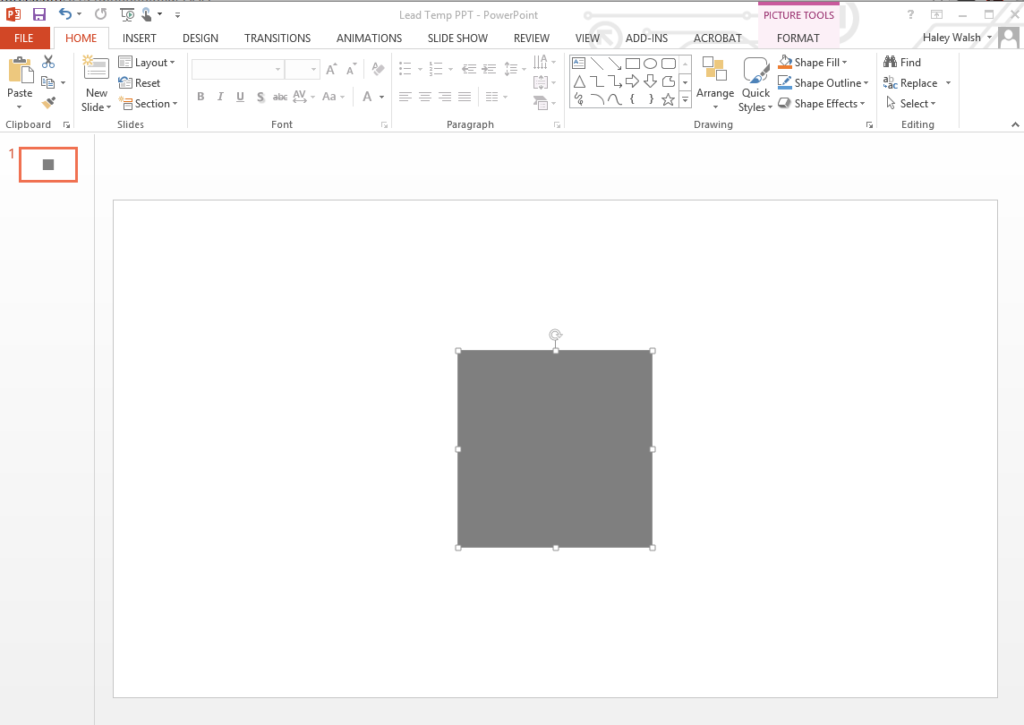
4. Now that we have the field tag, we will need to insert a placeholder image into our template document. Open your PowerPoint or Word template, select Insert from the toolbar ribbon and click Pictures. Select a photo from your computer to be used as the placeholder image and click the Insert button.
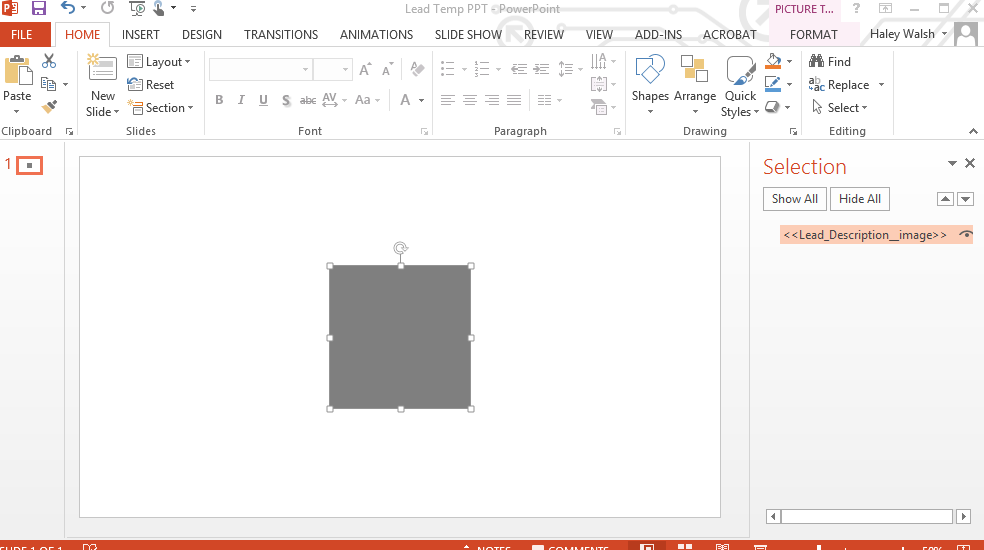
5. Once your placeholder image is inserted in the template, click Home > Select > Selection Pane. If you click on the image you will see the image name is ‘Picture 1’ in the Selection Pane window on the right-hand side.
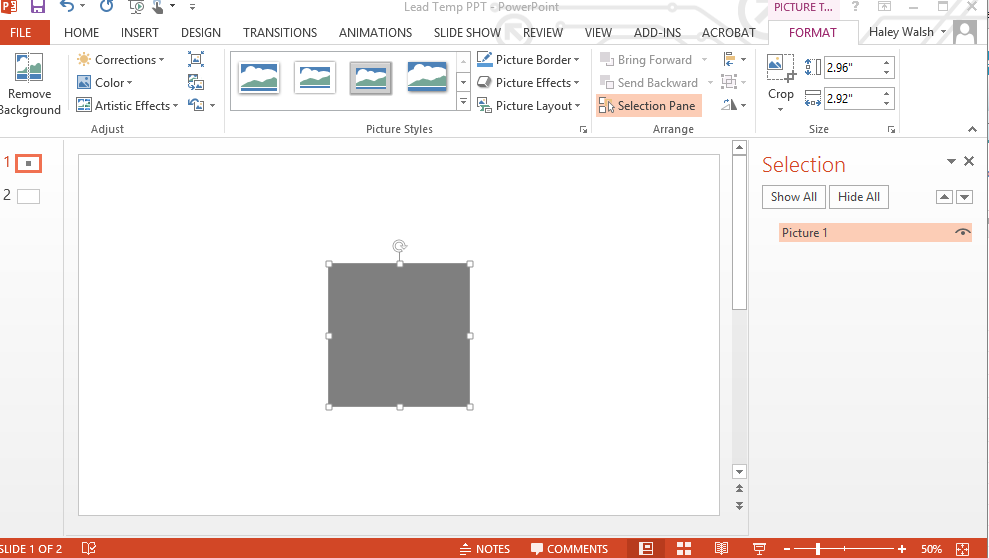
6. Double-click on ‘Picture 1’ in the Selection Pane to rename the image. Paste the field tag from Step 3 and append ‘__image’ to the end. For our example the tag will be <<Lead_Description__image>>.
7. Save the template.
8. Upload the template to the DDP.
9. Run the DDP. When the DDP is ran the placeholder image will be replaced with the dashboard image.
Note: The generated document will populate with the latest image from the dashboard. To ensure the dashboard image in your generated document is up to date you will either need to manually refresh the dashboard prior to the document being generated or schedule the dashboard to refresh.